1. Dashboard
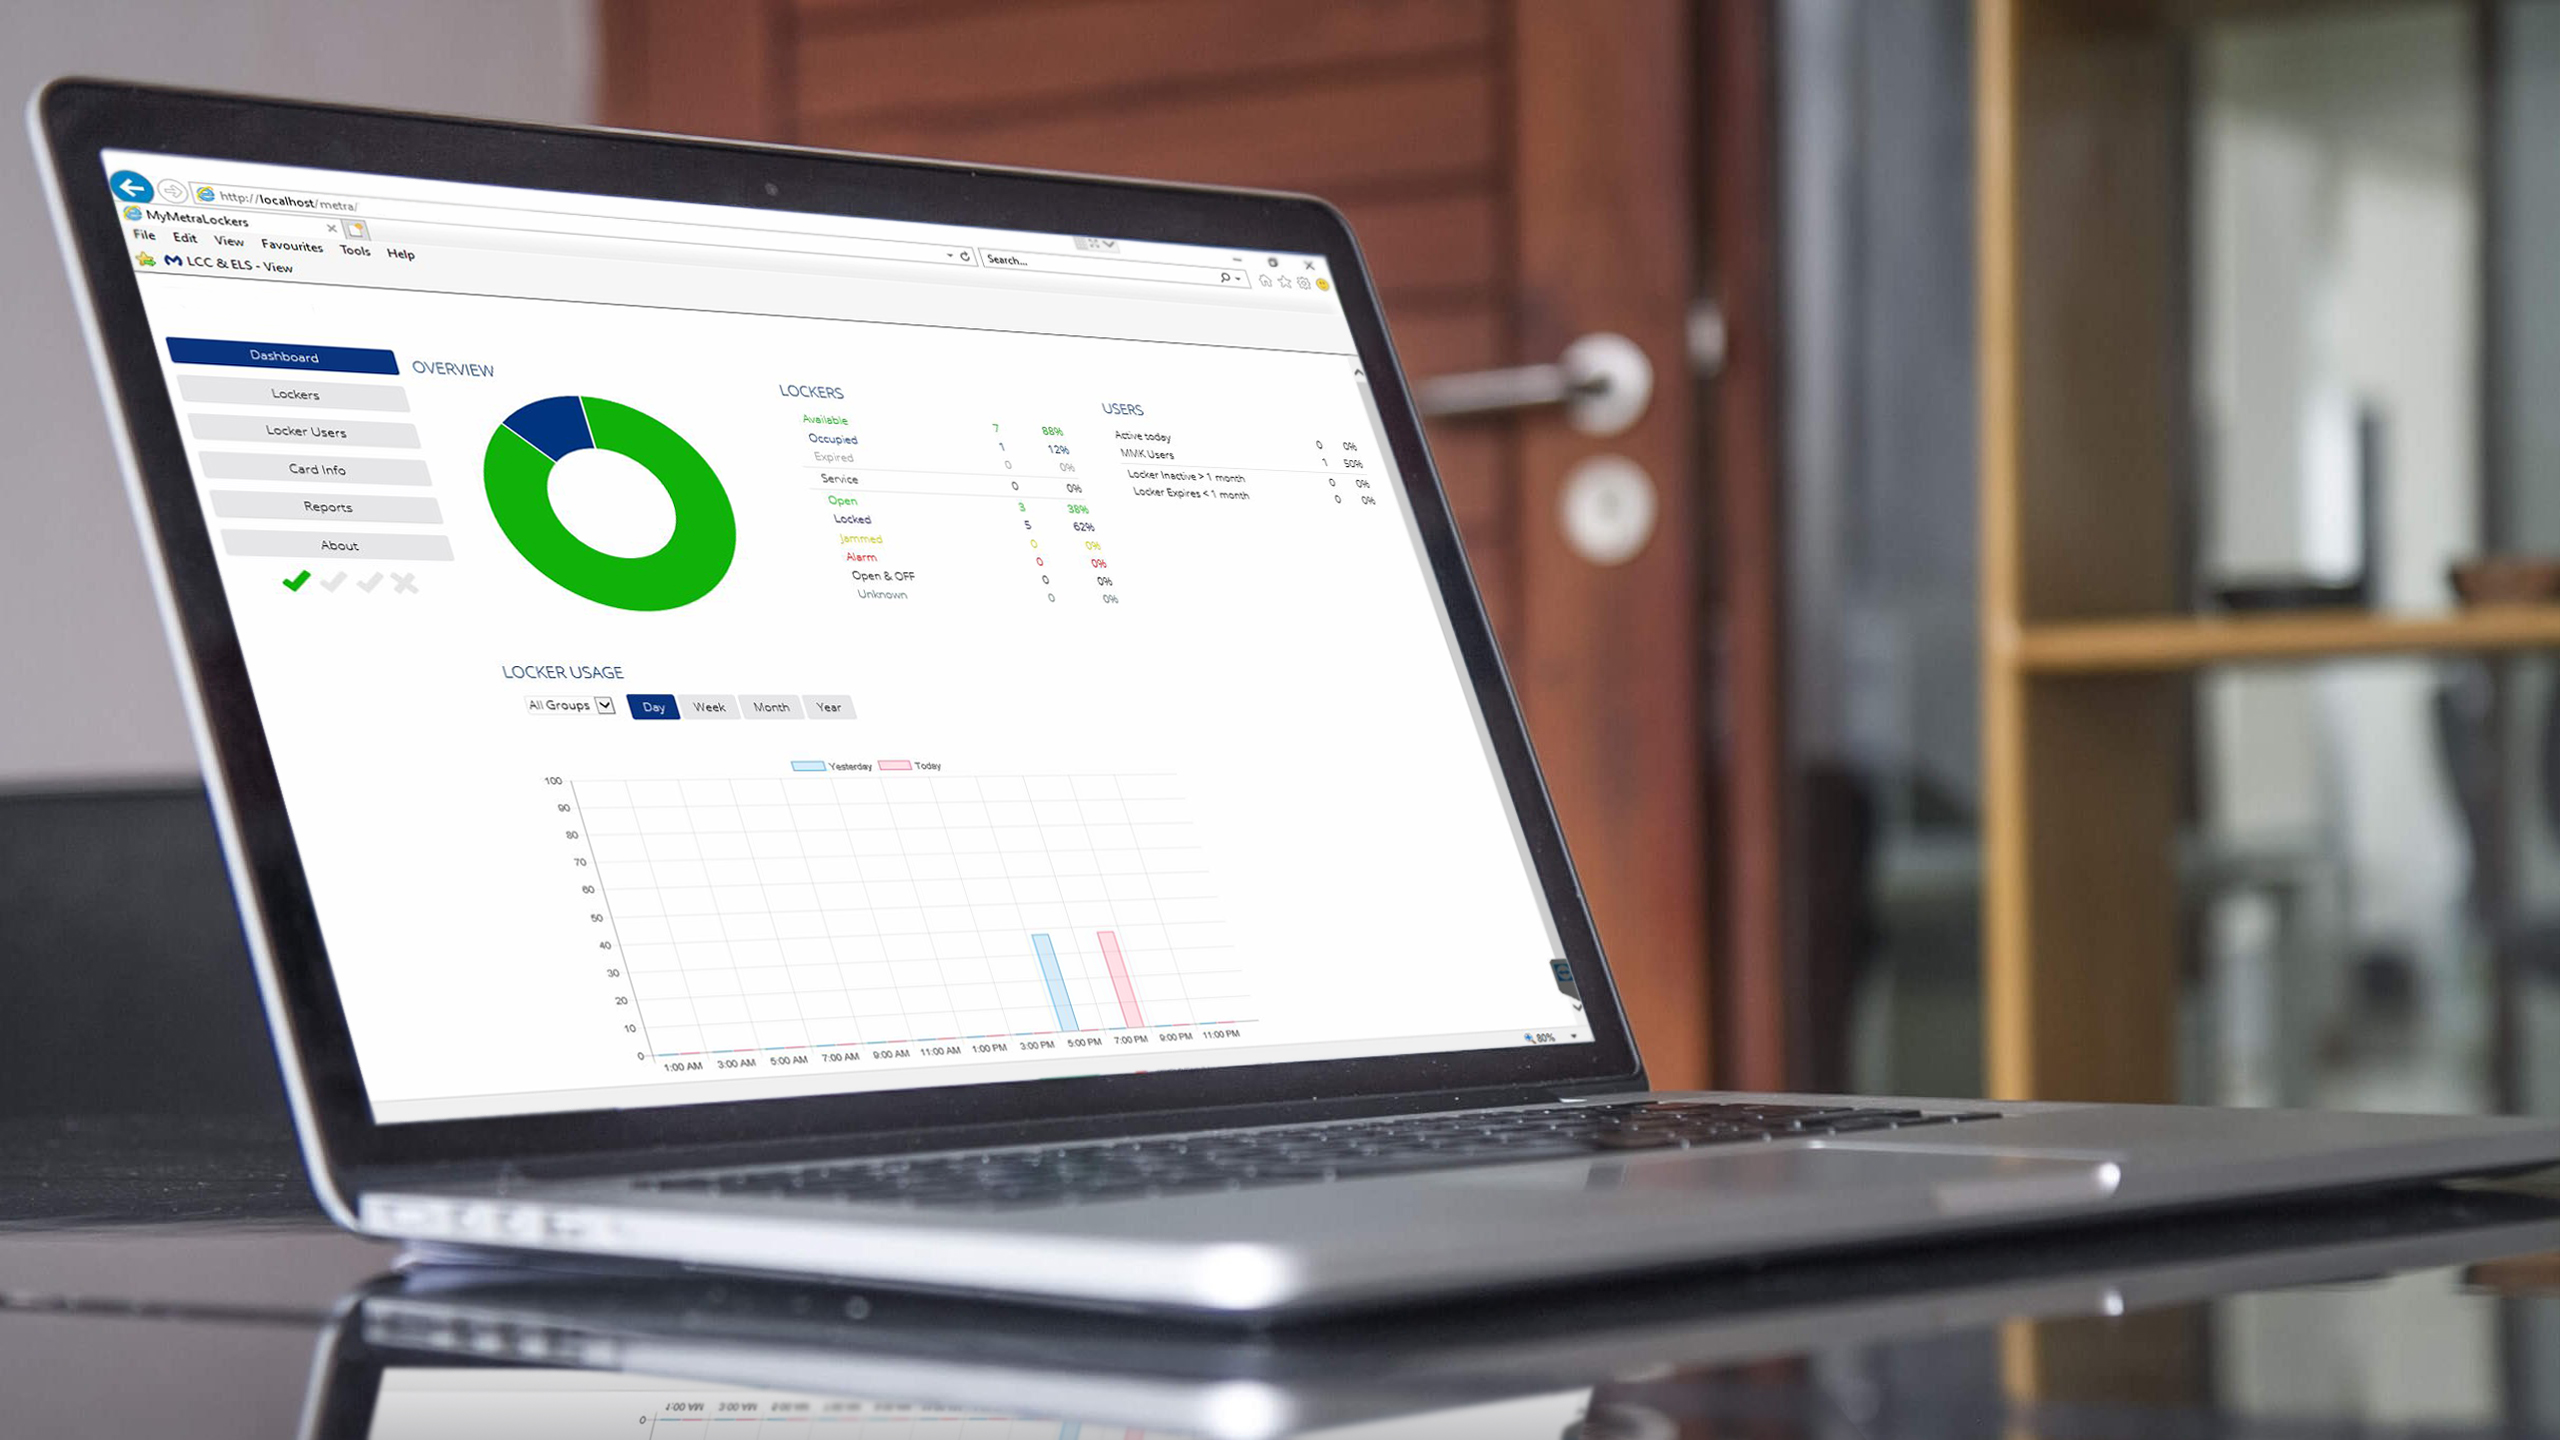
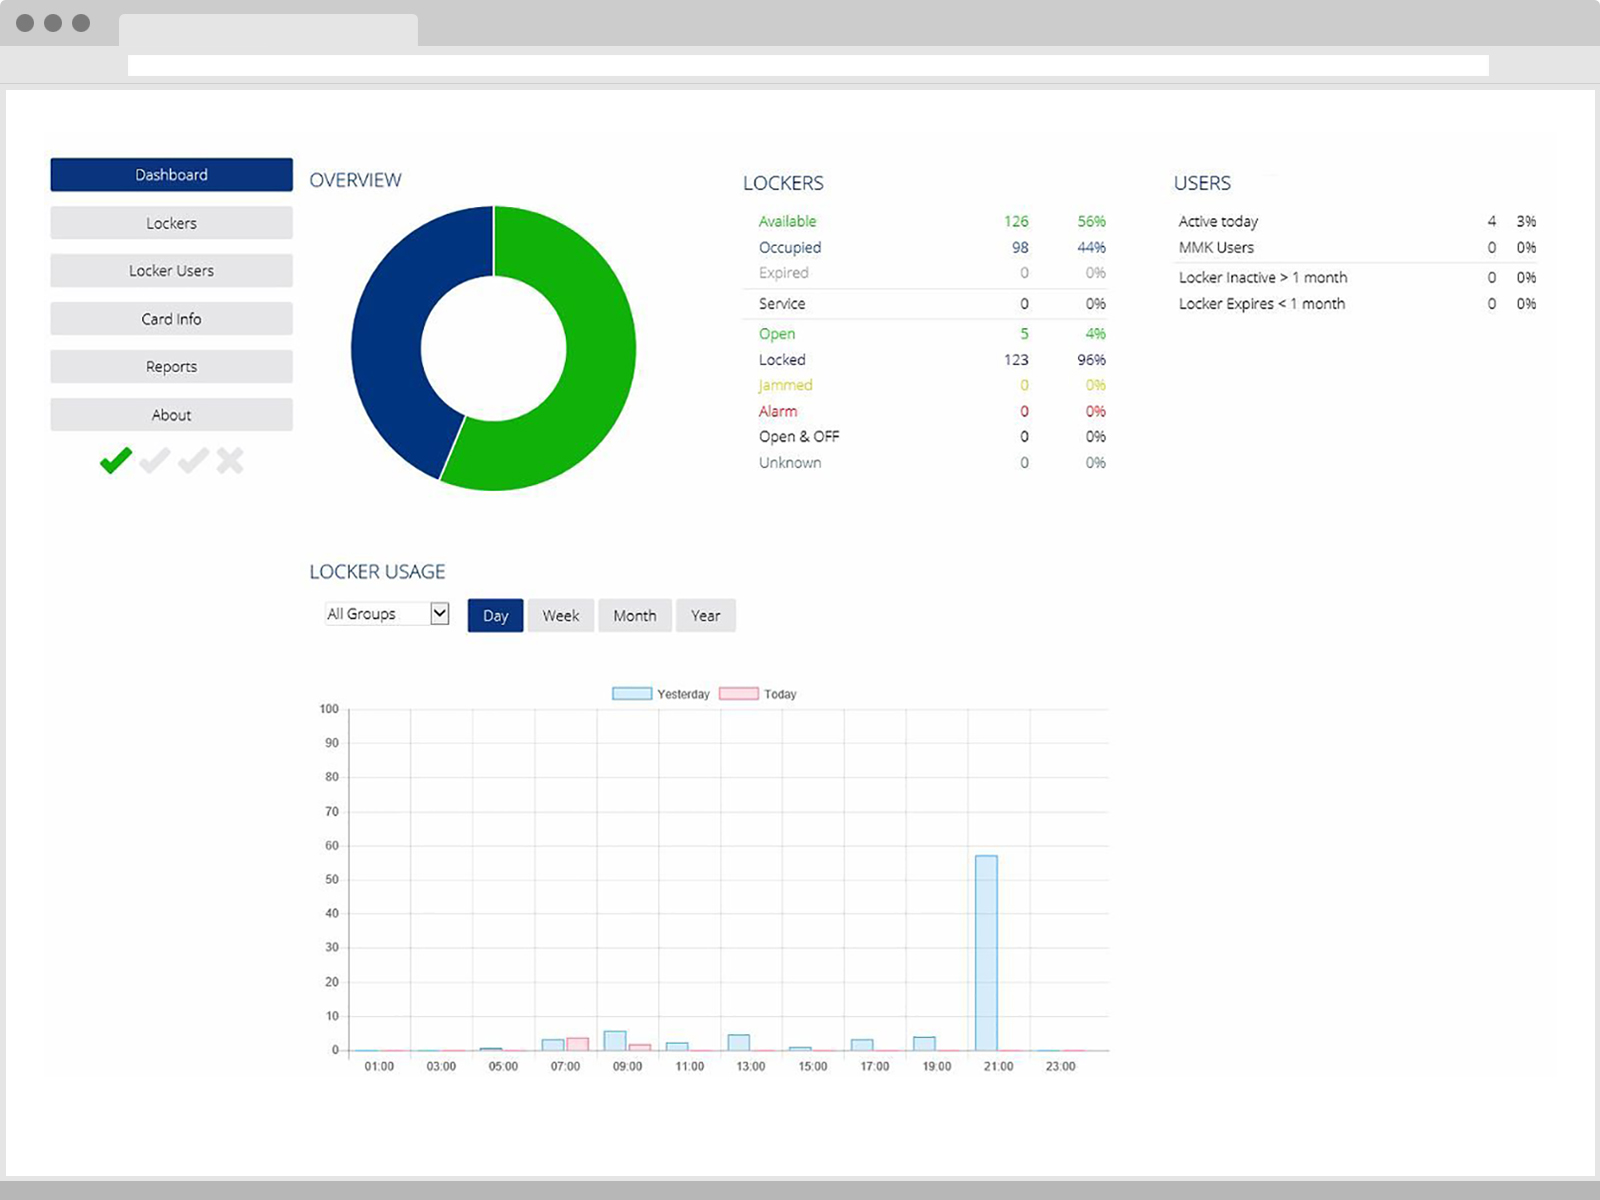
The dashboard is the first screen you will see when the interface is accessed and will give you an overall breakdown on your locker setups, status and usage.
2. Lockers
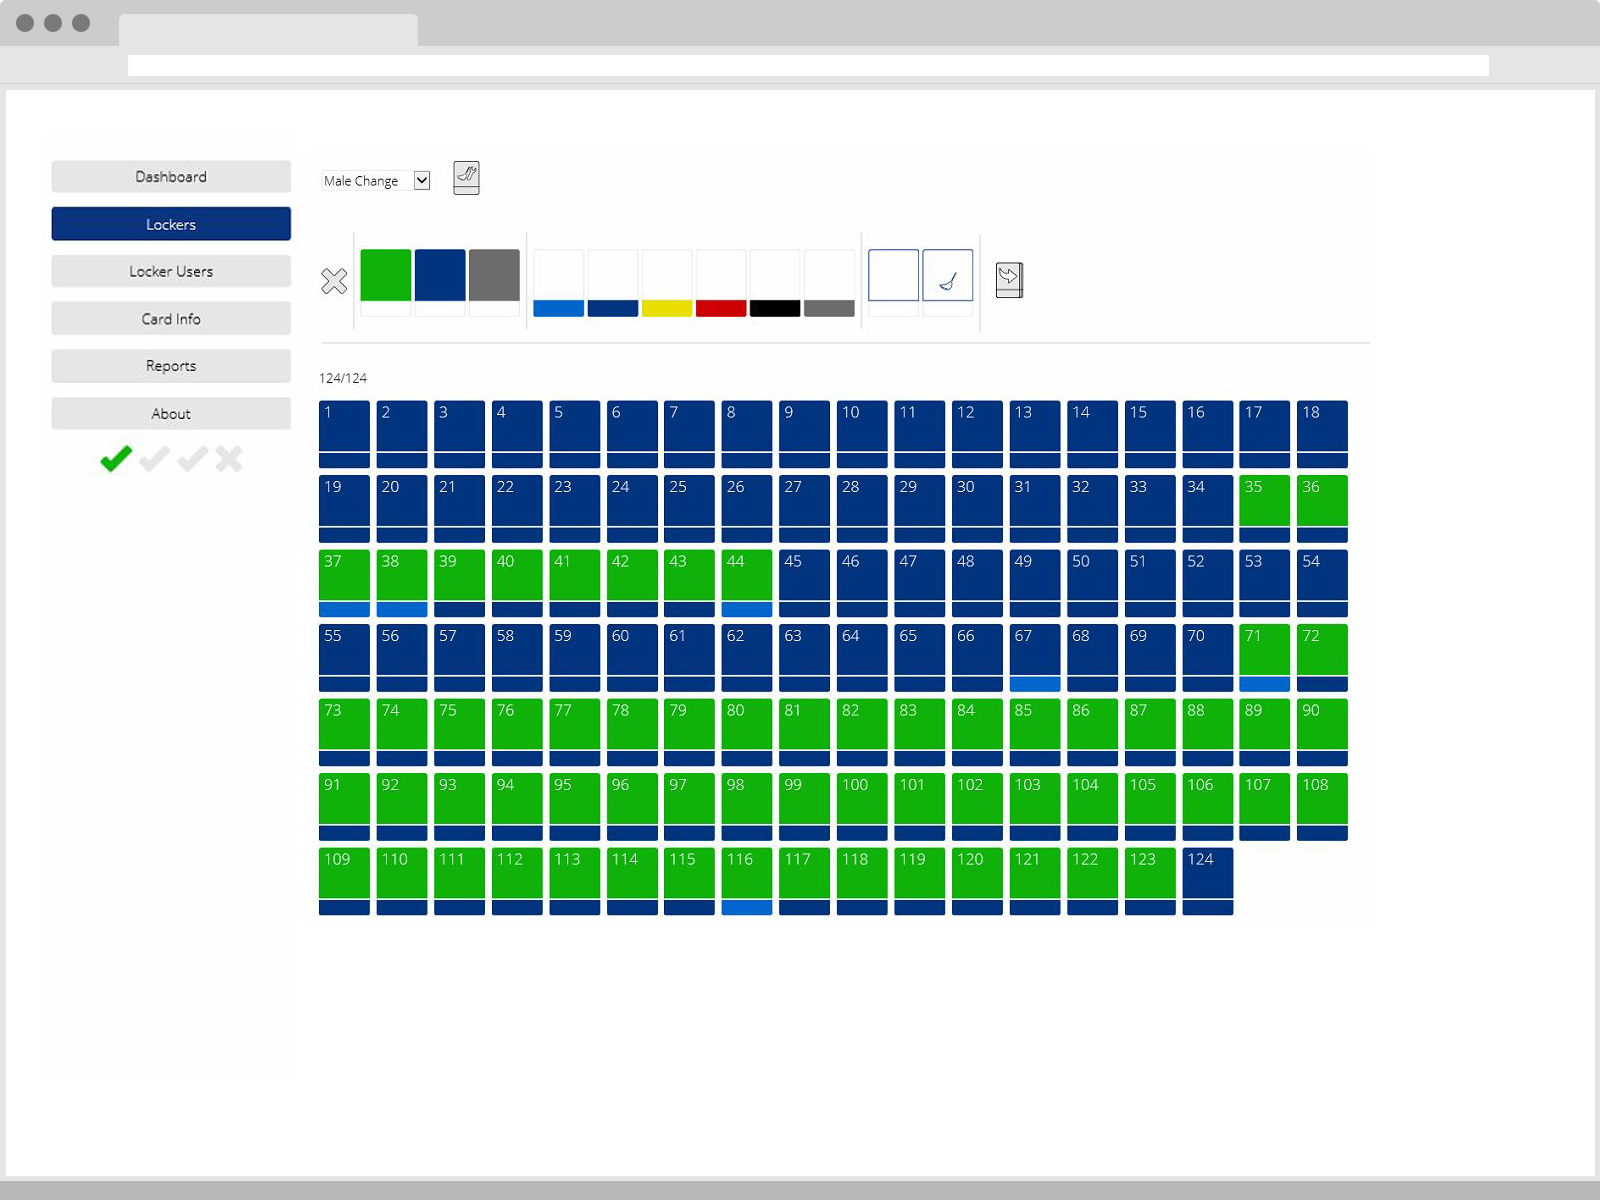
The lockers tab is where greater detail on individual lockers can be seen as well as overall status of the doors and locks and reservations. Each status is indicated with colour combination. Status’s include: available, reserved, expired, unlocked, locked, jammed, alarmed, offline, out of order. By clicking on a locker, it will provide you with details on that locker’s status, event history and reservation details, and if no reservation is present, you can create one from here.
3. Locker Users
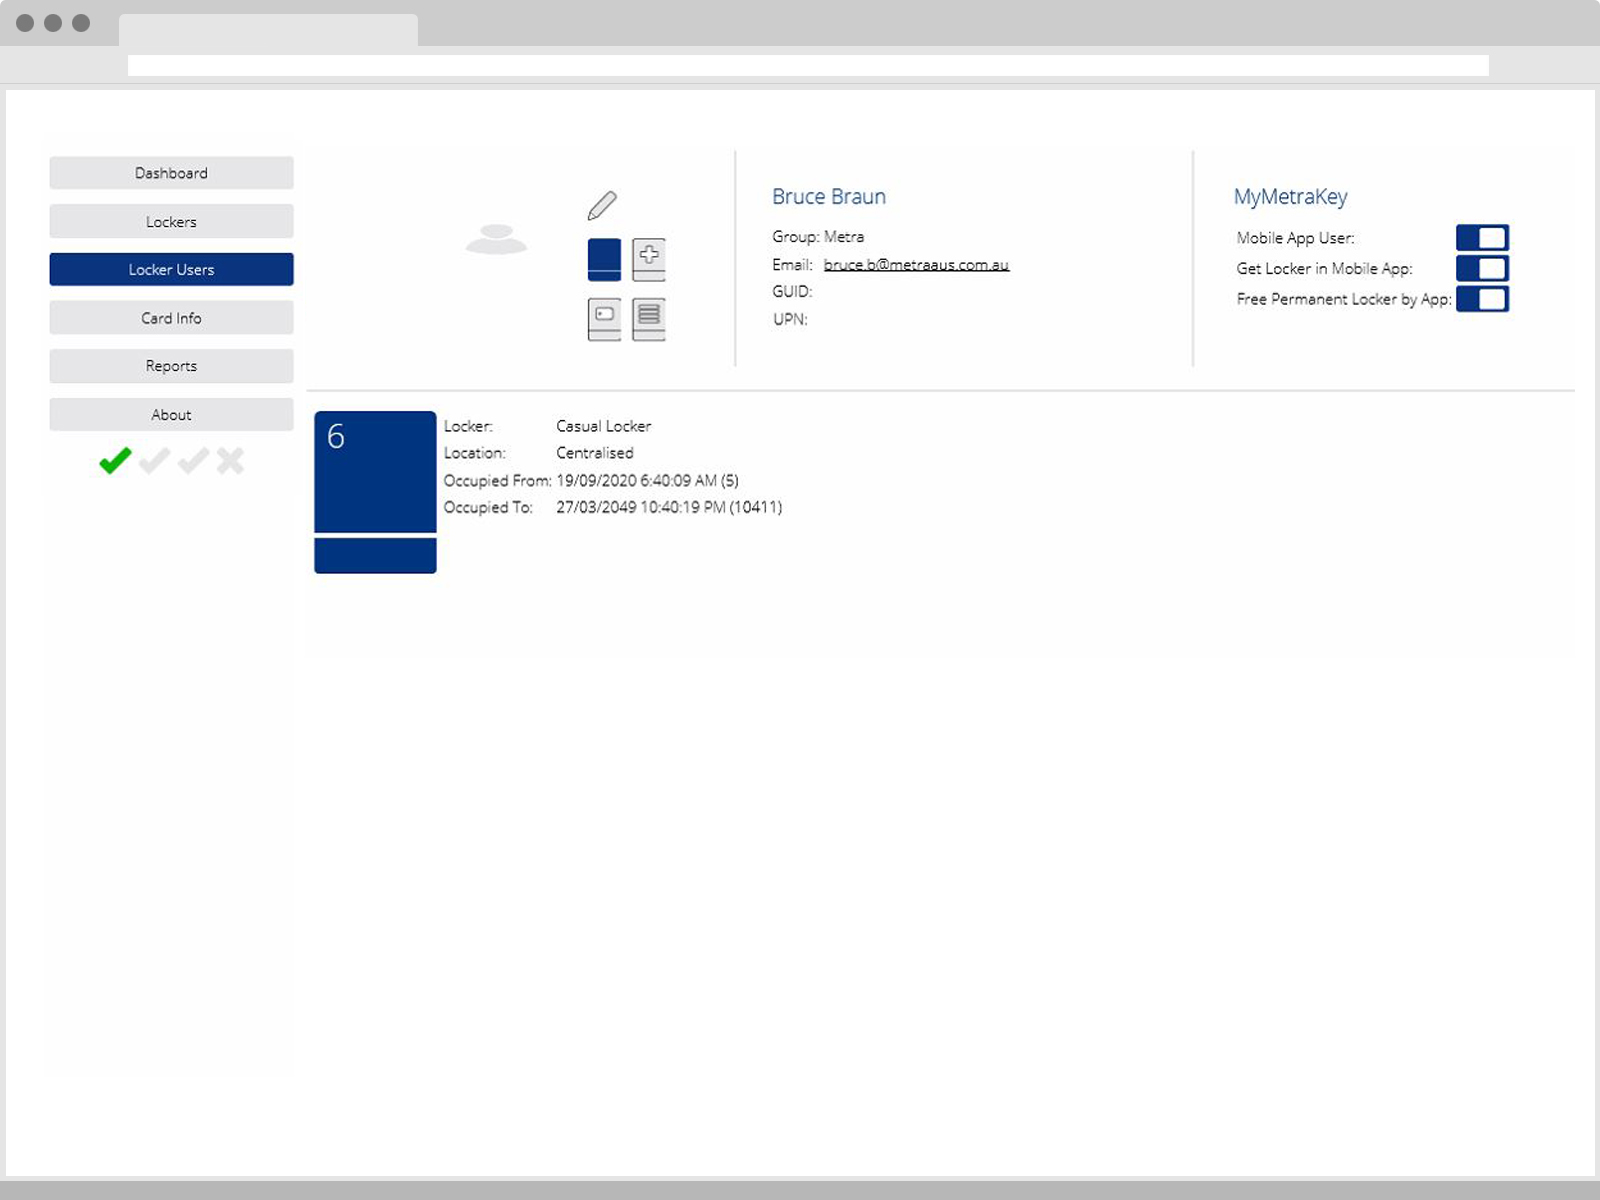
The Locker Users page is where users are created, have their credentials assigned to them and locker reservations made. Details on individual users can also be viewed and edited here. You can search by name, filter by group or department and by reservation status. Functions such as applying a new expiry date or removing the reservation all together can also be done here. You are also able to assign multiple users to a single if your organisation allows/requires it.
4. Card Info
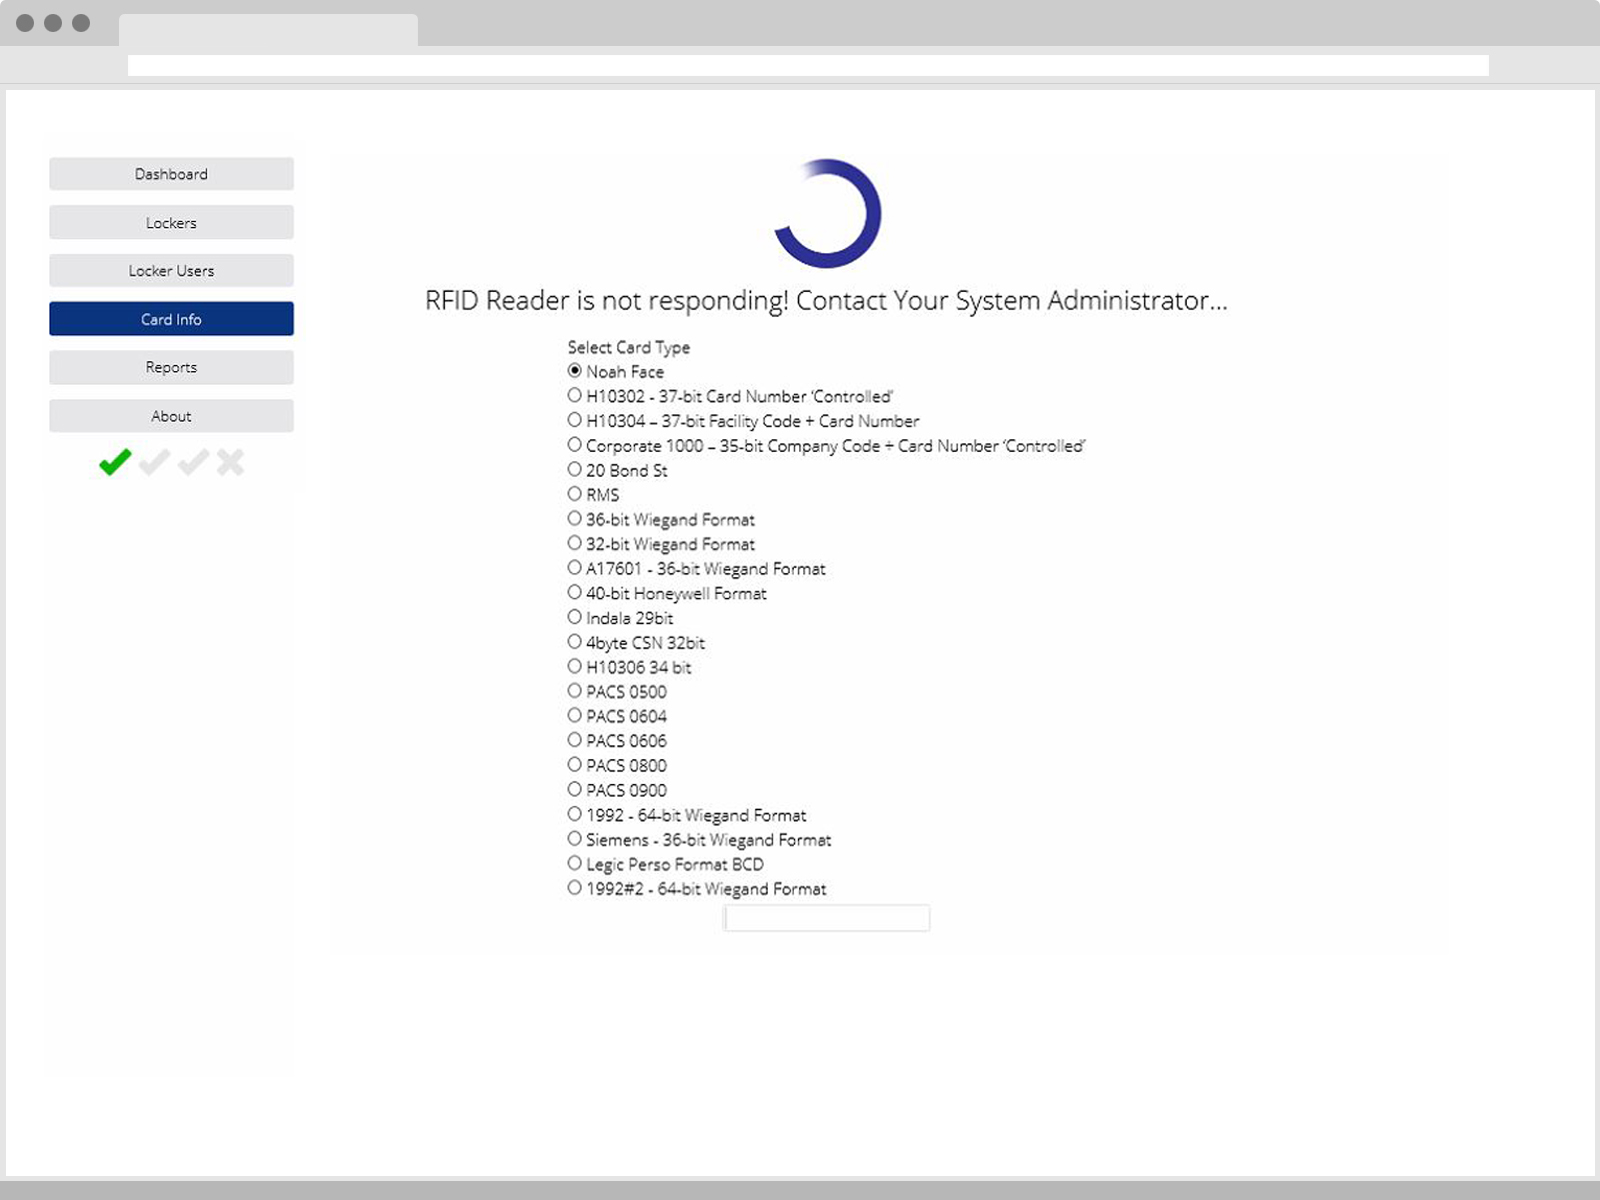
The Card Info page is used to enter an RFID credential to display details of the user the number is assigned to.
5. Reports
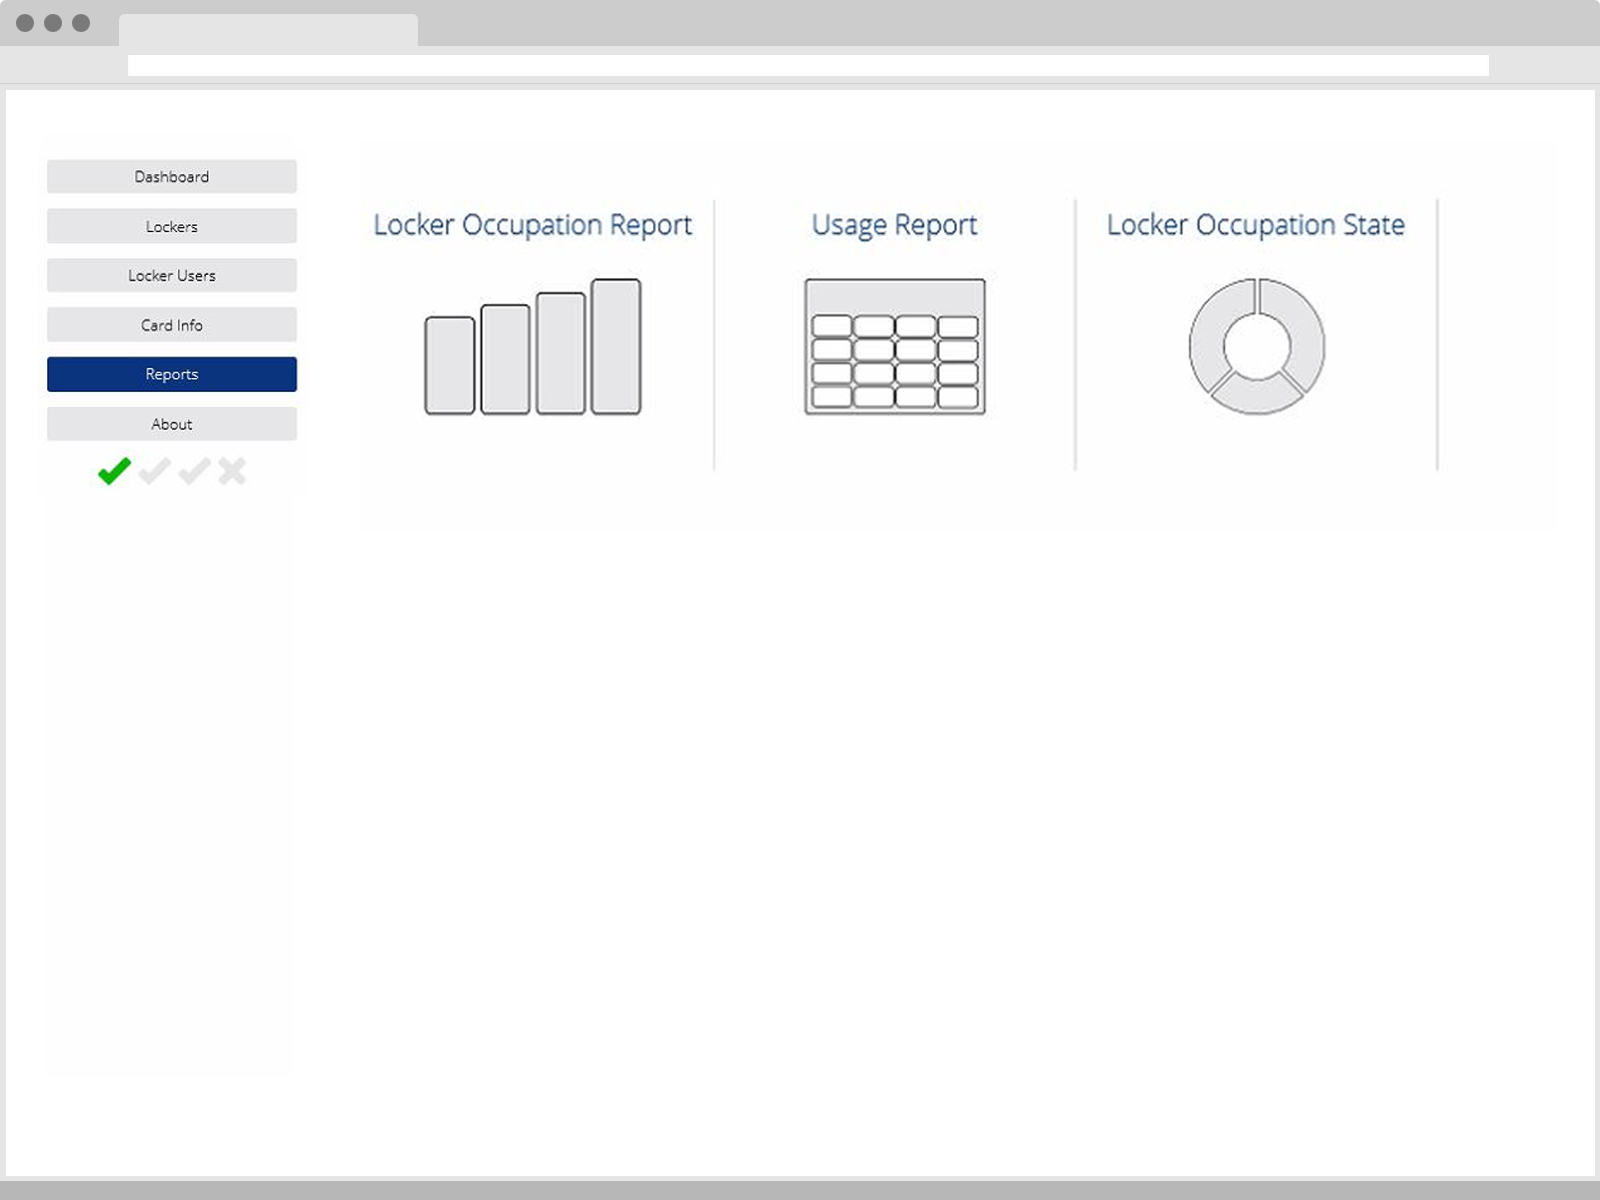
Here you can generate reports regarding occupation state and usage.
6. About
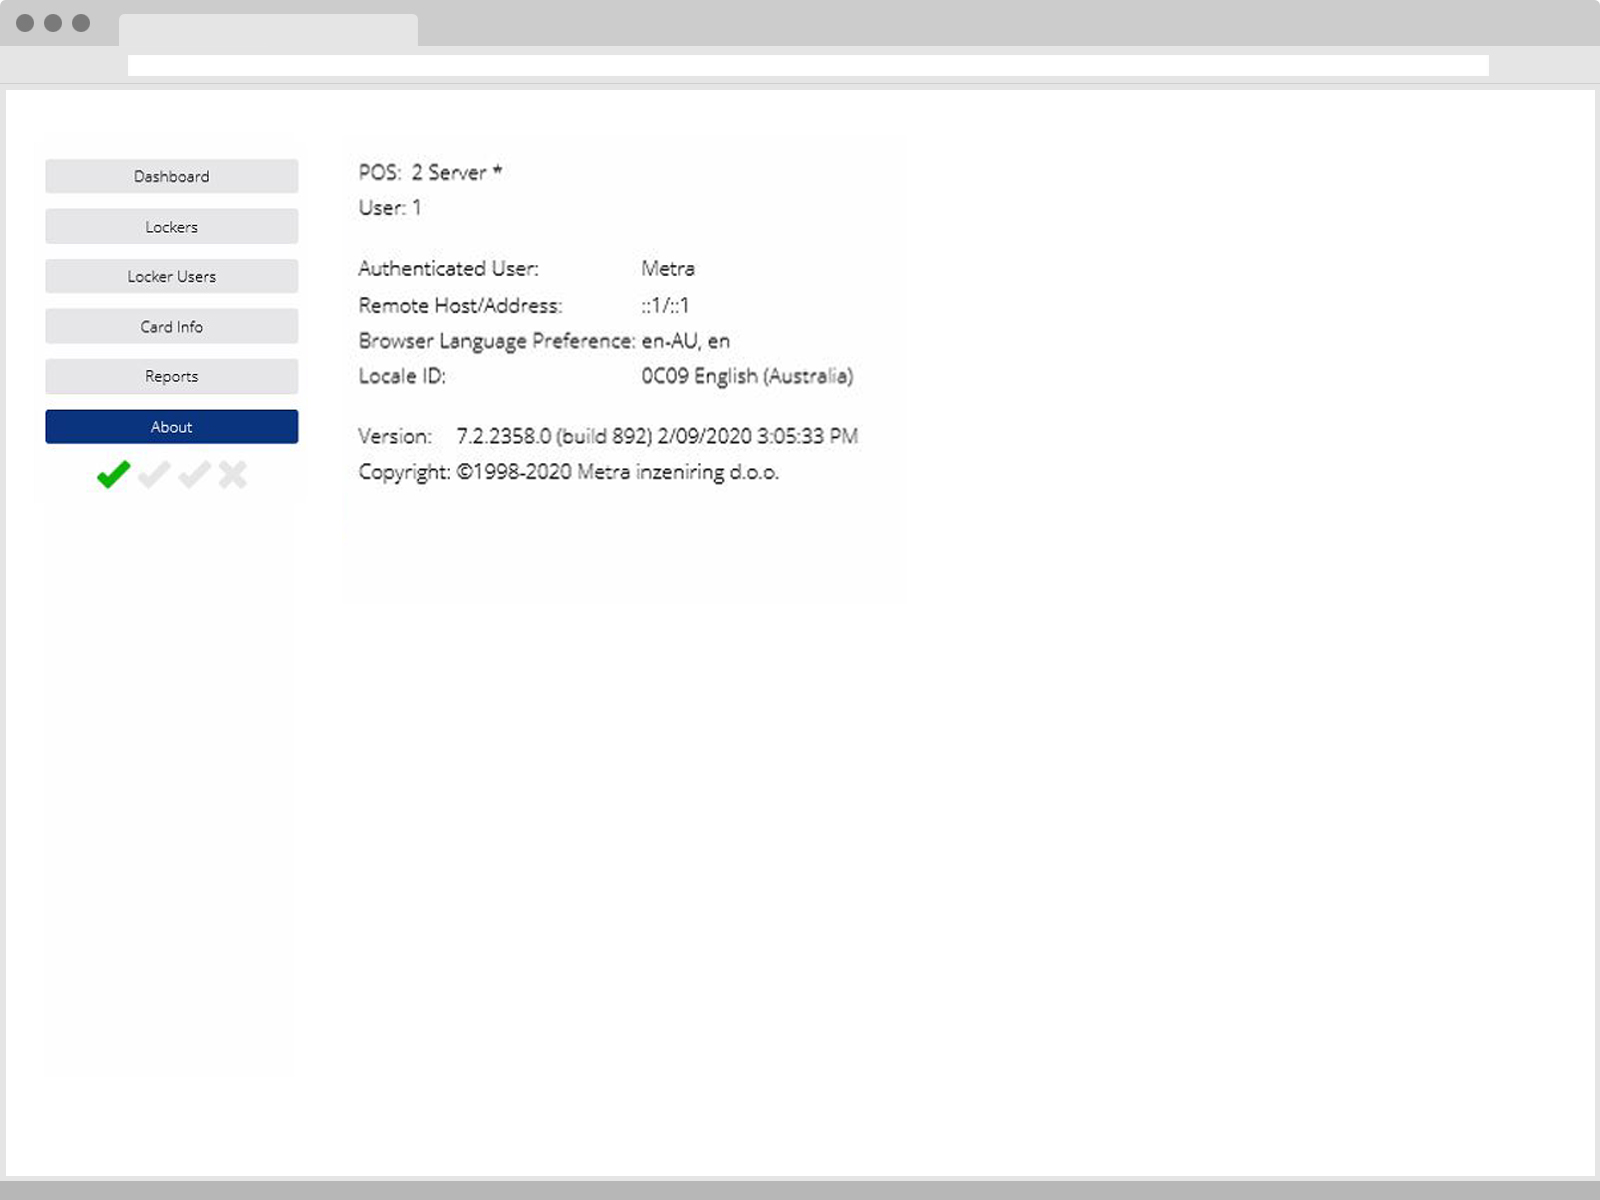
The About page will display details about a logged in user, the POS they are accessing as well as other details regarding the system. This may used in troubleshooting steps in event of errors.
